Welcome to homeownership! One of the pivotal appliances you’ll encounter is your air conditioning unit. Nothing beats having a cool home, especially when the summer heat rolls in. If you ever find your AC not functioning as it should, there’s good news—many issues can be tackled quite easily, even for beginners. Let’s dive into these straightforward troubleshooting tips to help keep your home comfortable year-round.
1. Check the Thermostat Settings
Before panicking, ensure that your thermostat is set to ‘cool’ rather than ‘heat’ or ‘off.’ It’s a surprisingly common oversight, so double-checking this could instantly solve your problem. Additionally, confirm that the settings are below the current room temperature to activate the cooling cycle. Sometimes, the thermostat itself might be at fault if it’s located in a spot that gets direct sunlight, causing it to misread the room’s temperature. Relocating it to a shaded area can provide more accurate readings and optimal performance.
If after setting to cool, your system still doesn’t engage, consider examining the interface for any error codes that might indicate underlying issues. Advanced models often display alerts that can guide you to specific problems without much guesswork. Don’t forget to check if the thermostat’s batteries are still functioning well; a simple battery swap can sometimes resolve seemingly complex problems.
2. Inspect Your Circuit Breaker
Power issues can often be traced back to your circuit breaker. Look for any flipped switches or blown fuses, which might be preventing your AC from running. Resetting the breaker could be the quick fix you need.
Start by locating your home’s electrical panel—usually in a garage, basement, or closet. Ensure breakers are set to the ‘on’ position. In some cases, a consistent trip could signify a larger electrical issue needing professional evaluation to prevent damage due to overloaded circuits.
3. Replace or Clean Air Filters
Dirty air filters can restrict airflow and reduce your AC’s efficiency. Regularly checking and replacing or cleaning these can enhance performance and prevent future hiccups. It’s recommended to schedule filter changes every one to three months, especially if you have pets or live in a dusty area.
A clogged filter not only hampers ventilation but also strains the unit’s compressor, potentially leading to system breakdown. When removing the filter, hold it up to light; if you can barely see through, it’s time for a change. Consider investing in higher-grade filters that trap more pollutants and allergens, providing a cleaner, more breathable indoor environment.
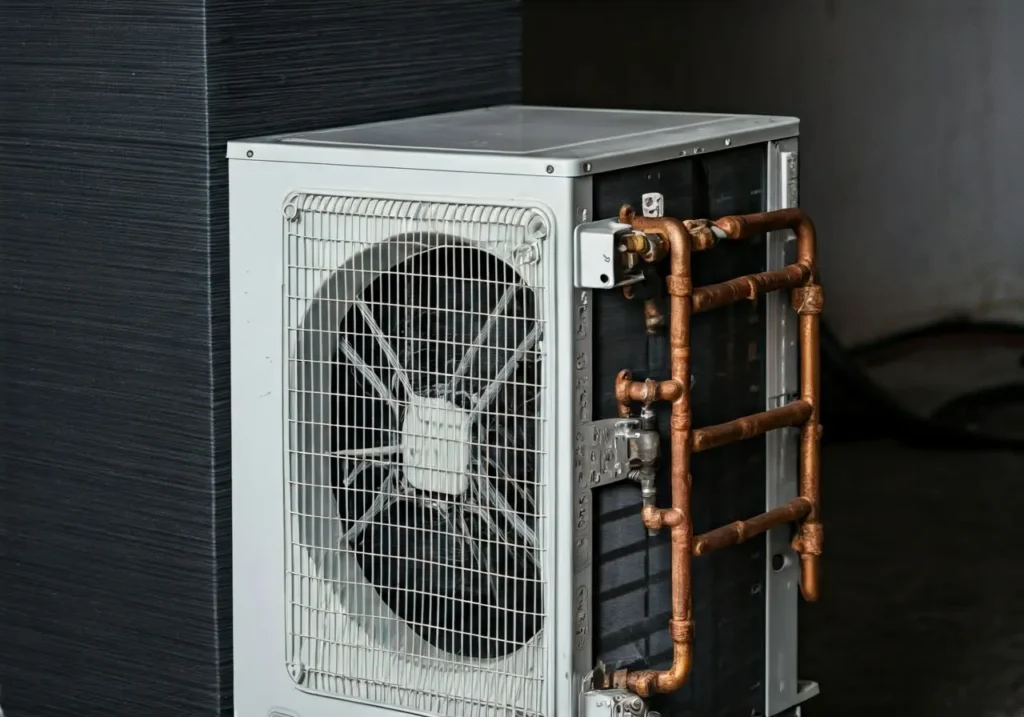
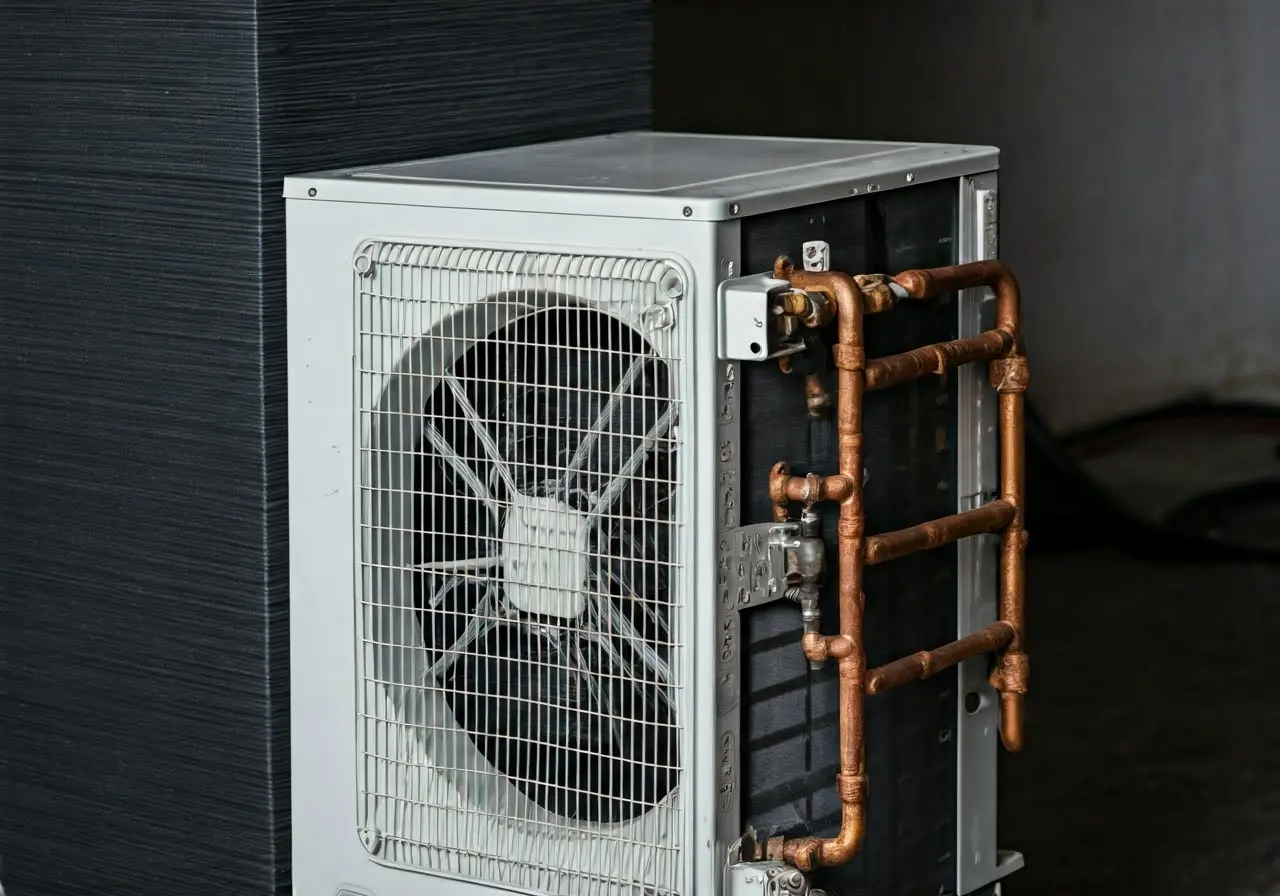
4. Clear Debris from Outdoor Unit
The outdoor unit needs proper airflow, so make sure it’s free from leaves, dirt, or debris. Clearing the surrounding area can quickly improve your AC’s functionality. Maintain at least a two-foot clearance around and above the unit to prevent plant growth or clutter from interfering with operation.
Consider a periodic rinse using a garden hose to wash away dirt from the exterior coils. However, do not use a pressure washer as it can damage the delicate fins. A gentle spray can effectively dislodge grime, boosting heat dissipation and enhancing cooling efficiency.
5. Listen for Strange Noises
Unusual sounds like grinding or banging may indicate issues within the system. Pay attention to these auditory cues and address them swiftly, perhaps with professional help. They can signal anything from loose parts to more significant mechanical failures.
Rattling may mean loose hardware, while hissing could suggest a refrigerant leak. Beginning troubleshooting with these sounds can catch potential chronic issues. Noise isn’t just a nuisance; it’s an AC’s way to communicate distress, so don’t dismiss it.
6. Ensure Vents are Unblocked
Blocked vents can impede airflow, overworking your AC. Move furniture or curtains that could be obstructing the vents to help your unit operate correctly. It’s simple yet crucial; unrestricted vent flow ensures cold air disperses evenly across your living space.
Additionally, check that all vents in your home are open. Closed vents can create pressure imbalances, forcing the AC to strain harder, reducing efficiency and increasing energy costs.
7. Check for Refrigerant Leaks
A refrigerant leak can significantly impact performance. Look for unusually low airflow or warm air from the vents. If suspected, professional repair is advised as handling refrigerant requires expertise.
Warning signs like pooling liquid around the unit or frosty coils can also indicate leaks. Such problems should not be ignored, as low refrigerant levels make the compressor work harder, leading to expensive failures and inefficiencies.
8. Test the Fan and Motor
Ensure the fan and motor are running smoothly. If the fan isn’t spinning, there could be an issue with the motor or an electrical connection that might need professional attention. Fan motors are critical in ensuring that heated air is effectively expelled outside.
Inspect the blades for bent configurations or lodged debris, which can cause improper balancing and vibration. Regular checks prevent the need for extensive repairs, keeping costs down and your AC running efficiently.


